This guide demonstrates establishing continuous integration for an ASP.NET Core project through Microsoft Azure DevOps. The pipeline executes five build operations: Restore, Build, Test, Publish and Publish Artifact.
Initial Setup
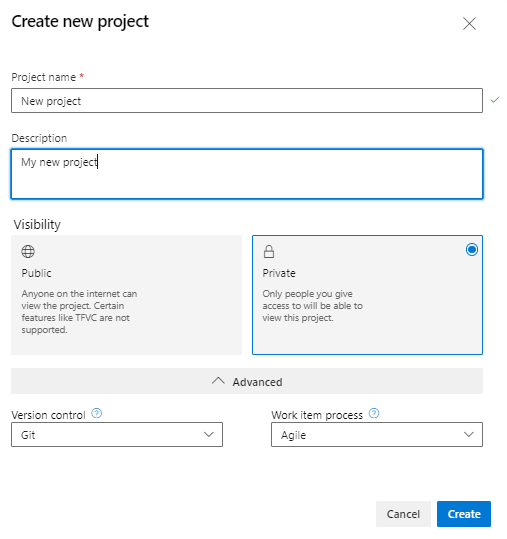
Begin by navigating to https://dev.azure.com/ to establish a new project. Specify the project name, description, visibility settings (public or private), and advanced configuration options for version control and work item processes before clicking Create.

Creating the Pipeline
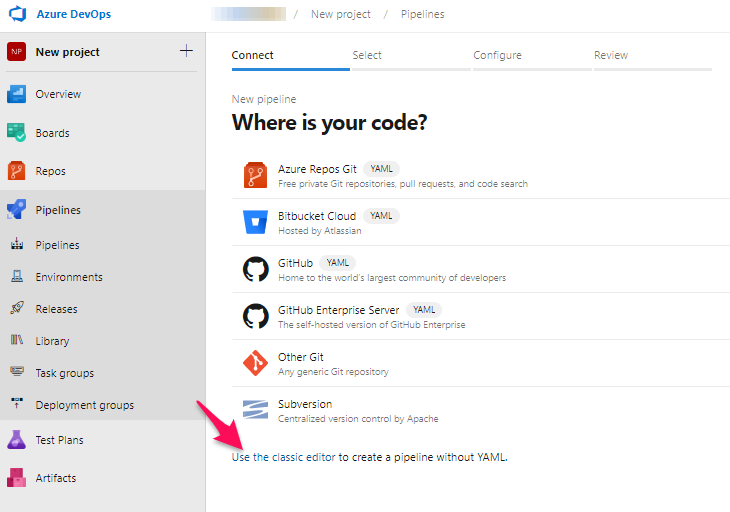
Access Pipelines and select Create Pipeline. Two configuration approaches are available: YAML or Classic Editor. This walkthrough uses the Classic Editor for its user-friendly interface.
Repository Selection
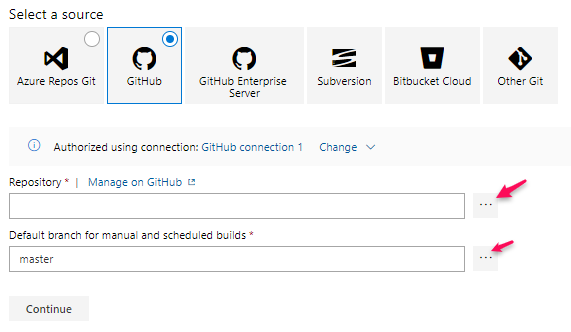
Choose your code repository source, authorise access, then select the specific repository and branch. This example uses GitHub.
Template Configuration
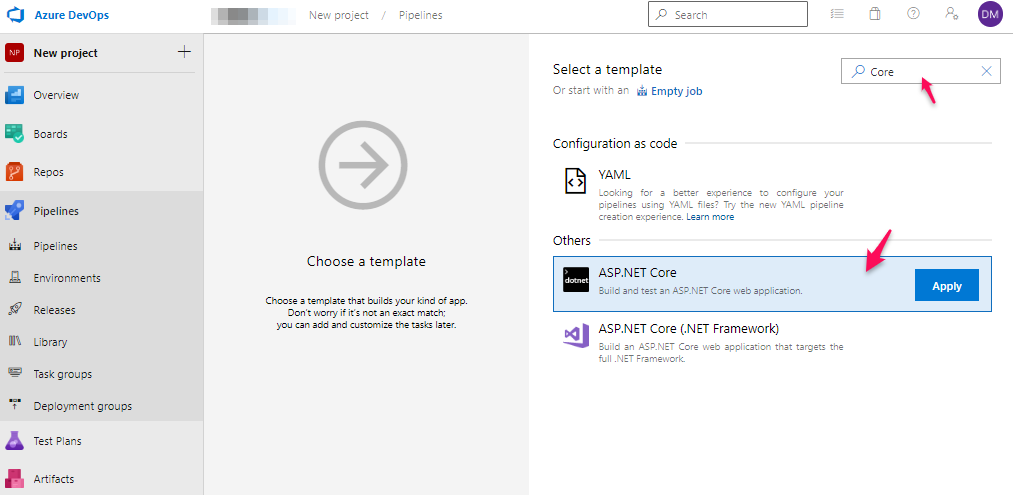
Select an appropriate template matching your application type. Search functionality assists in locating templates. ASP.NET Core was chosen for this demonstration, and the Apply button was clicked.
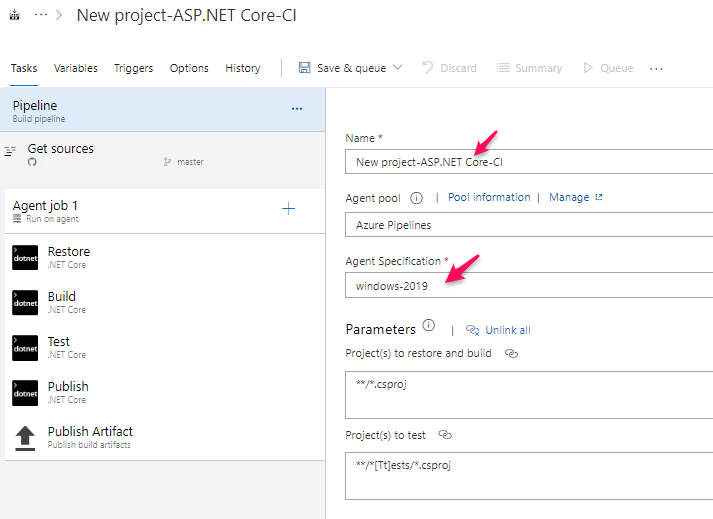
Pipeline Build Steps
The Classic Editor automatically generates five default build steps with pre-configured options. While customisation is possible, maintaining default settings ensures quick setup. Edit the pipeline name and Agent Specification as needed.
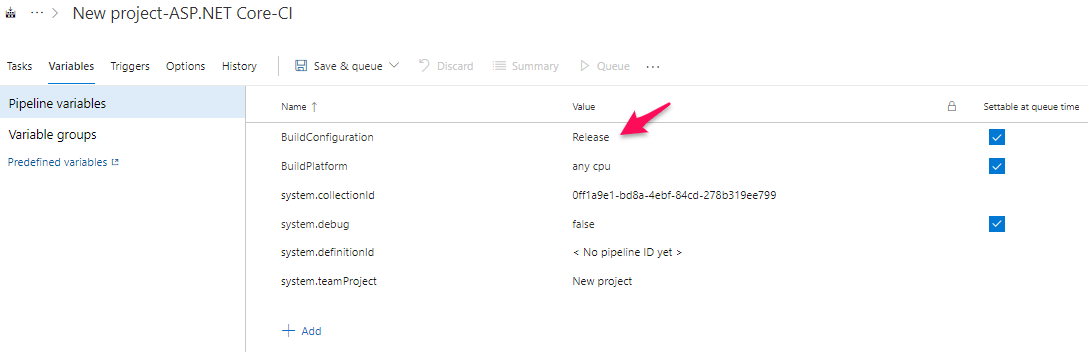
Variables Configuration
Access the Variables tab to modify build configuration settings. The default Release configuration can be changed — this example modified BuildConfiguration to Production.
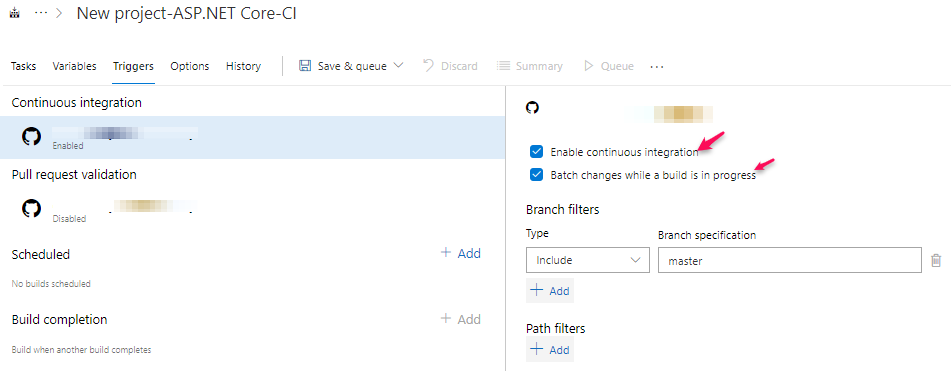
Triggers Configuration
Under the Triggers tab, enable continuous integration by checking “Enable continuous integration” and “Batch changes while a build is in progress.” This configuration triggers the pipeline automatically when commits are pushed to the GitHub master branch.
Finalization
Click Save & queue dropdown, then Save to complete setup. Launch the pipeline by committing code to the GitHub master branch or manually triggering it through Azure DevOps. Navigate to Pipelines, select the pipeline, and choose Run pipeline.
Upon successful completion, a green checkmark appears, indicating artifact creation and readiness for deployment.
Next Step: Check out my article on How to Set-up Azure DevOps Releases to Deploy to an Azure Web App Service.